Shelly Pluse 2PM
Power metering switch with 2x10A relays
Shelly Plus 2PM
Power Metering Switch 2x10A
Installation Guide
View on GithubThis Enapter Device Blueprint integrates Shelly Plus 2PMT - power metering switch with 2x10A relays. It can be used to control external electrical load such as lights, pumps and valves. It also can be used as roller shutter. This blueprint runs on Virtual UCM and integrates using RPC over HTTP API, therefore gateway and Shelly Plus 2PM module needs to be in one network. It also supports digest authentication.
Configuring Shelly Plus 2 PM
-
Power On Module and wait when ShellyPlus2PM-ID Wi-Fi network will be discoverable in the air.
-
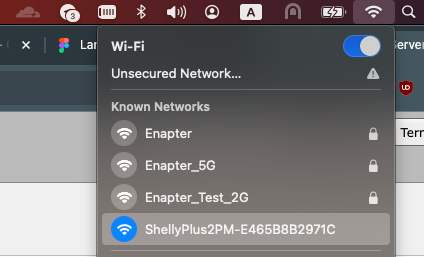
Conntect to your ShellyPlus2PM-ID Wi-Fi network using your computer.
-
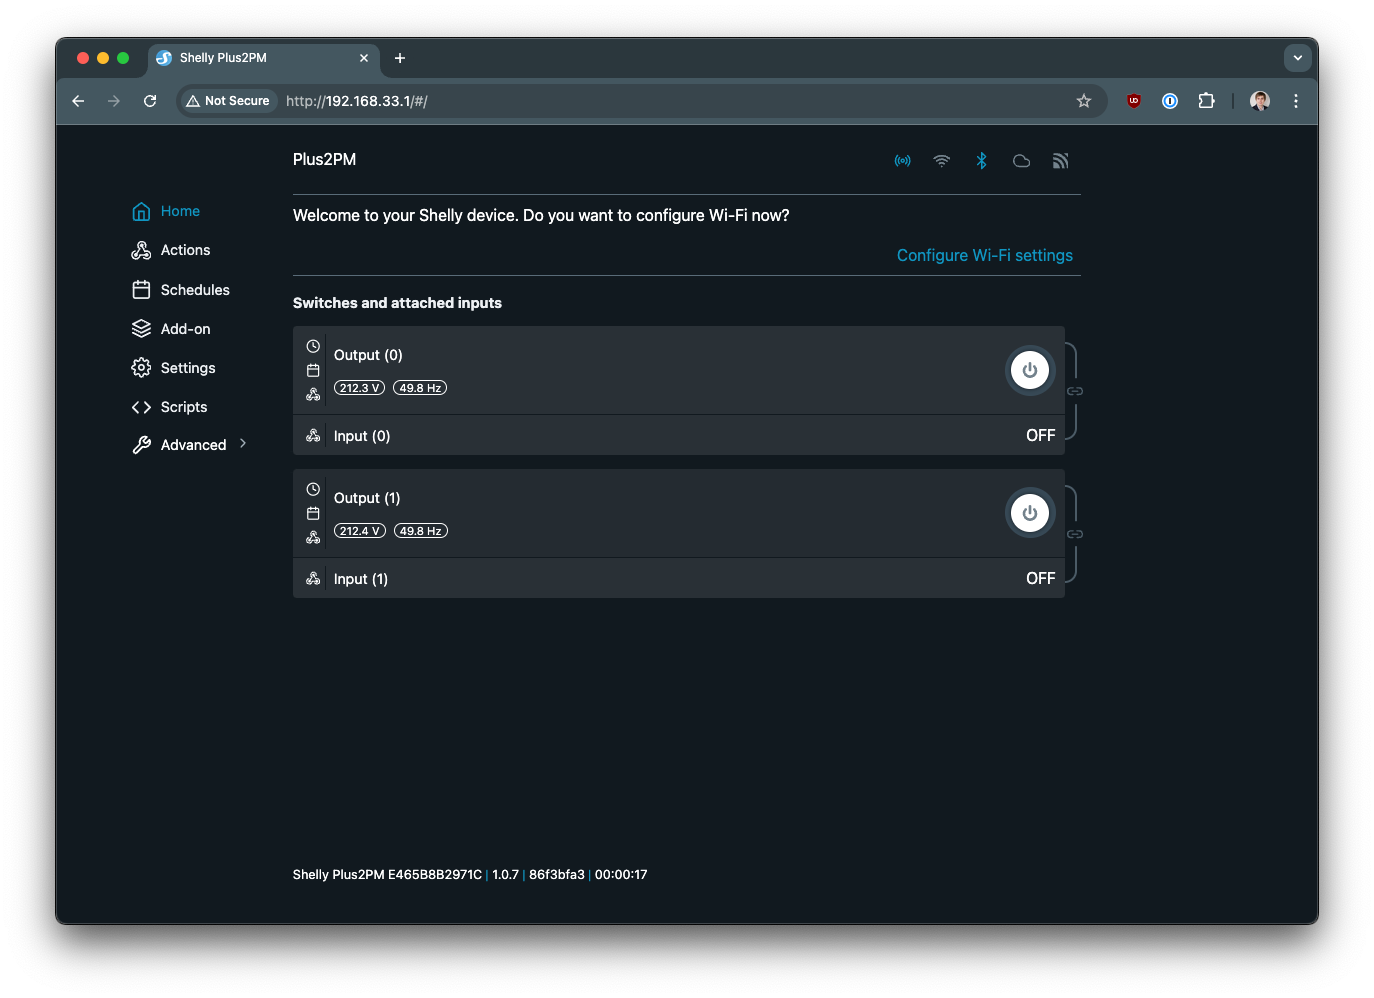
Navigate to http://192.168.33.1 using your favourite browser.
-
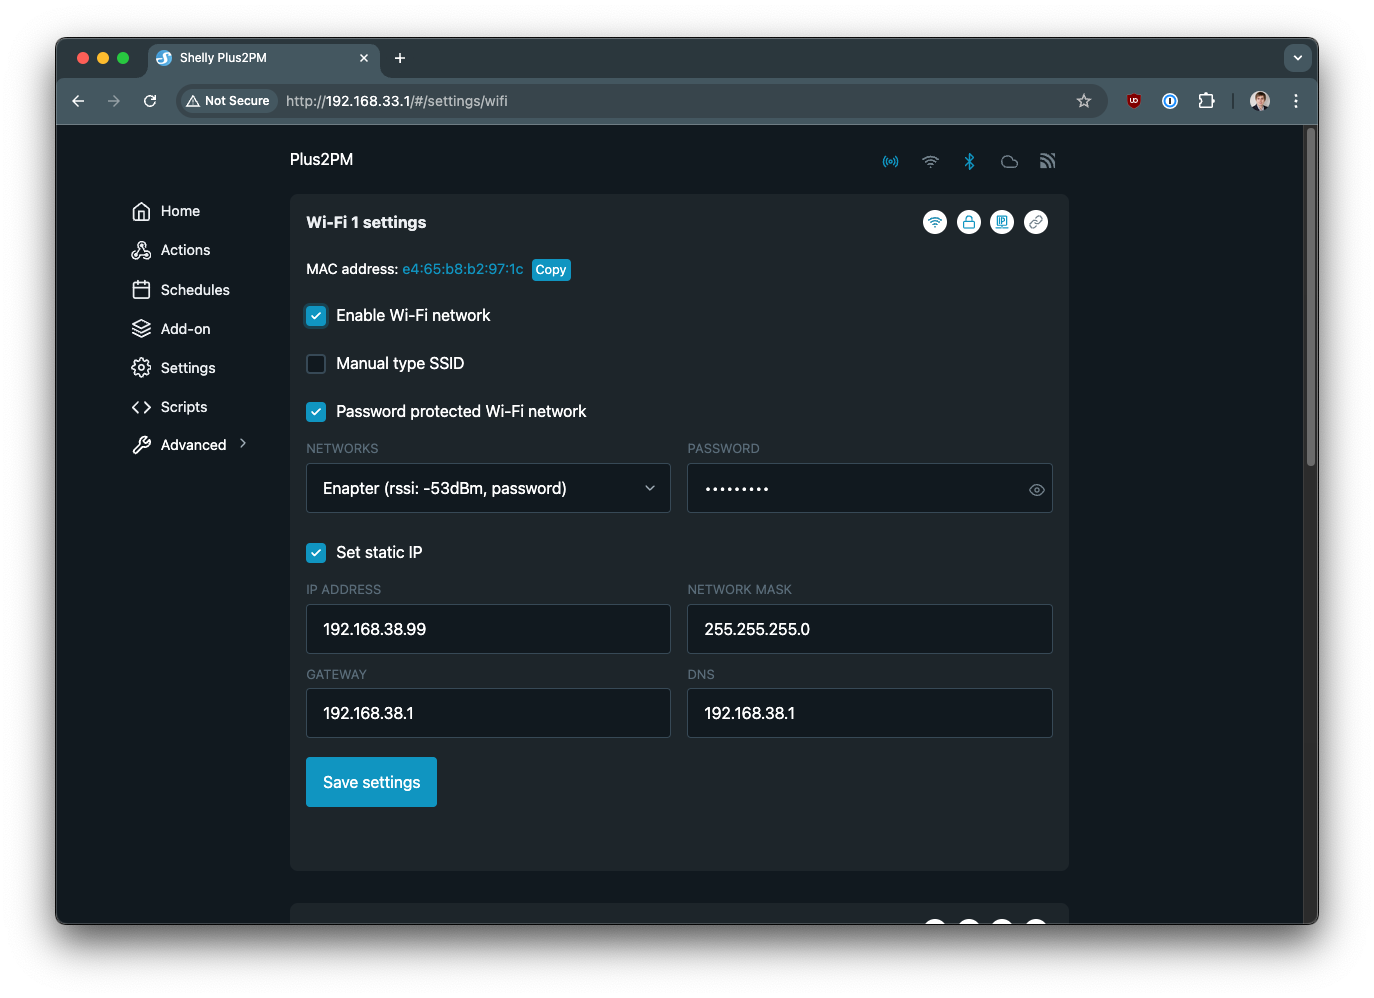
Navigate to Settings->Wi-Fi and set configuration of the network connection there. Select your Wi-Fi network from the list, put network password. It is also recommended to use static IPv4 settings.
-
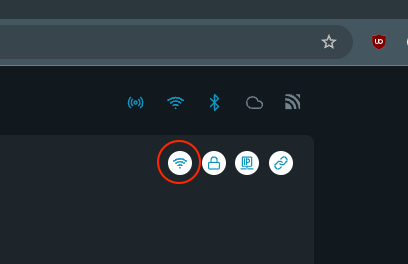
Ensure that Wi-Fi icon changed to active status.
-
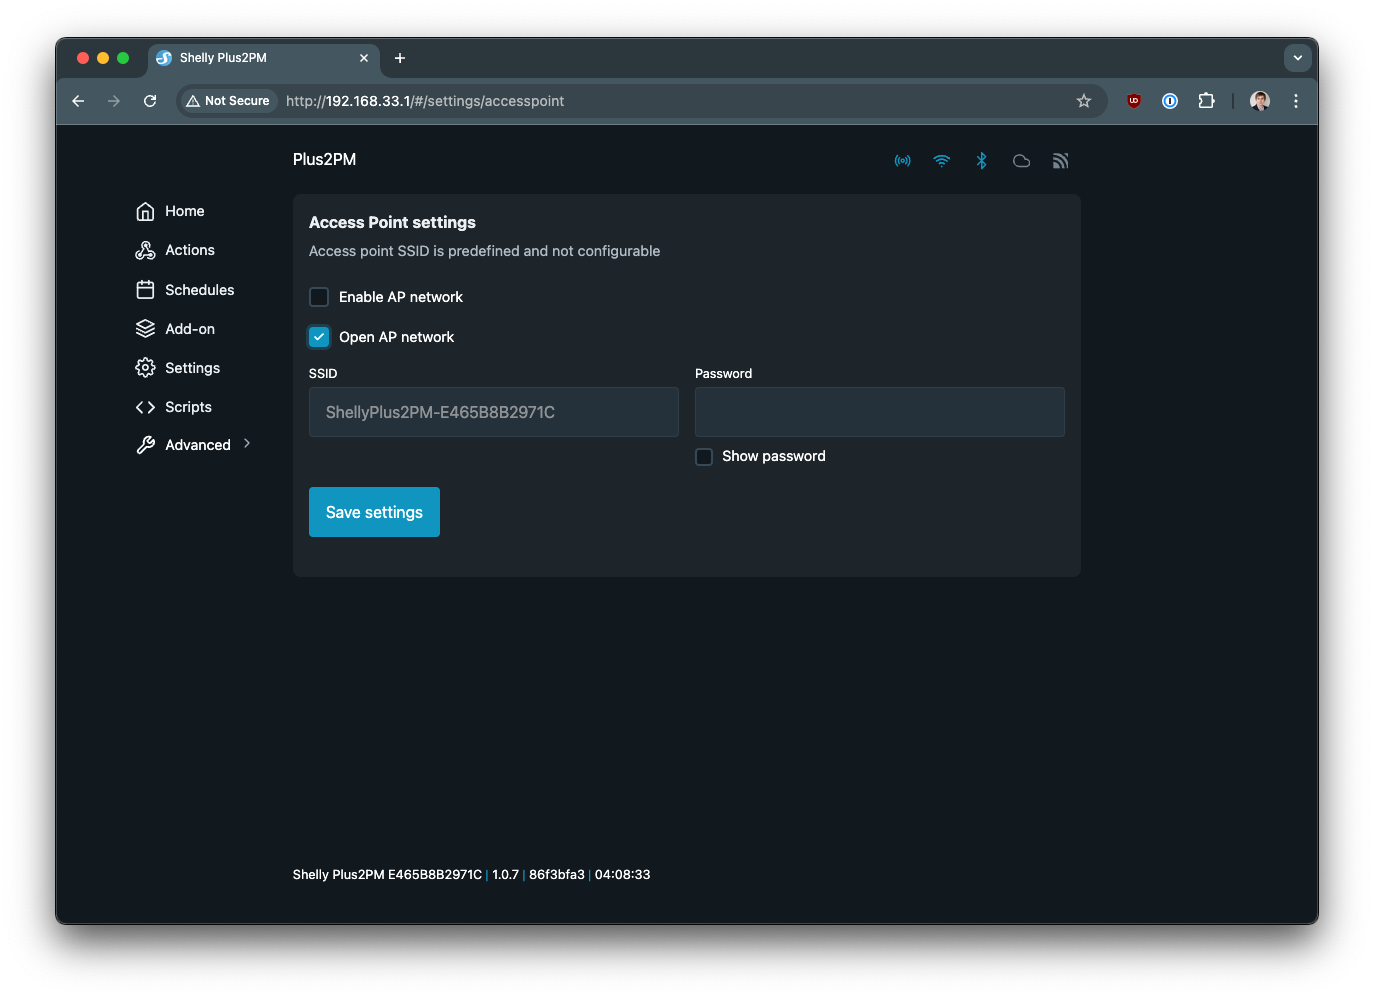
It is also recommended to diable Access Point by removing Enable AP Network checkbox in the Settings->Access Point menu.
Connect to Enapter
-
Sign up to the Enapter Cloud using the Web or mobile app (iOS, Android).
-
Use the Enapter Gateway to run the Virtual UCM.
-
Create the Enapter Virtual UCM.
-
Upload thie Blueprint using Enapter Marketplace on your mobile device. Advanced users can upload using Web IDE or CLI by following Developer Documentation.
-
As soon as Blueprint will start the IP Address Not Configured event will be triggered.
-
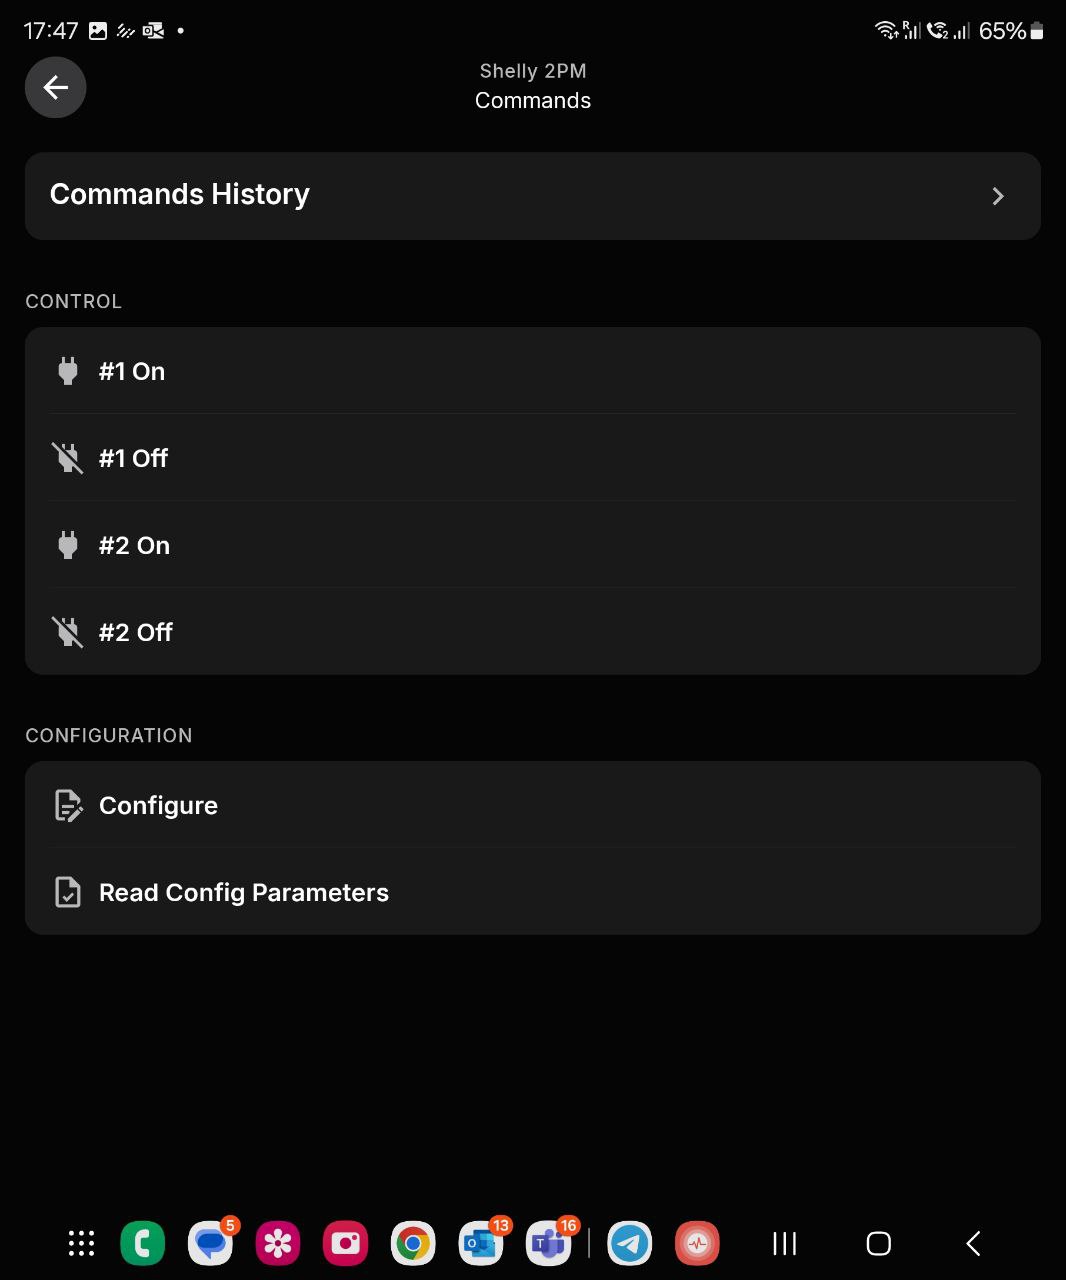
Click Commands on device screen.
-
On the commands list screen click on Main Configuration command:
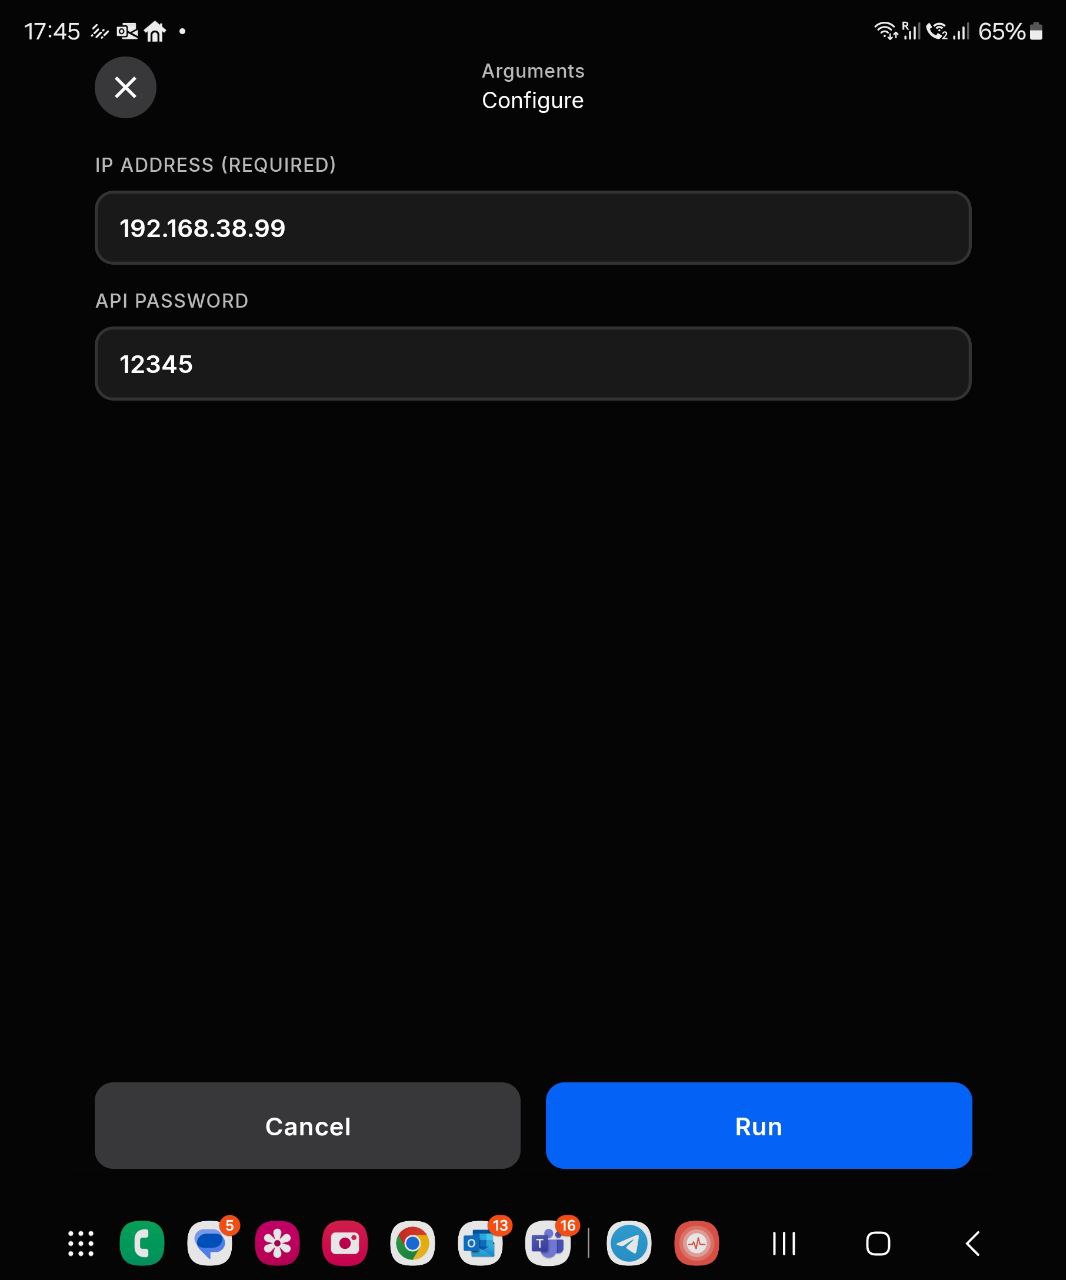
You need to set the following parameters:
-
IP Address
-
Password (Optional)
-
-
Press Run button
The status data should be available on your dashboard as well as you will be able to use the valuies in Enapter Rules Engine
References
Runs on
